-
- Products
- Indoor Household Cords
- Appliance Cords
- General Purpose Short-Length Cords
- General Purpose Extension Cords
- Landscape & Decorating Cords
- Bright Color Extension Cords
- Oil-Resistant Extension Cords
- Cold-Flex Extension Cords
- VividFlex Power Cords
- EXTREME All-Weather Cords
- Cord Management
- Task Lights
- Adapters & GFCI Devices
- Where to Buy
- About
- Careers
- Glossary
- Catalog


Top 10 Tips for Welding 304 Stainless Steel
Welding 304 Stainless Steel demands control, patience, and practical judgment. This popular austenitic grade resists corrosion, but it can still distort, discolor, or develop contamination during fabrication. A clean bench matters. So does disciplined preparation.
This guide presents ten practical tips for producing stronger, cleaner welds on 304 stainless steel. It covers joint cleaning, fit-up, shielding gas, heat control, electrode selection, and post-weld treatment. Small details often decide the result. A fingerprint near the joint can contribute to surface contamination. Excessive heat can leave a wide, blue heat-affected area and increase distortion.
Experienced fabricators know that recommended settings are starting points, not guarantees. Material thickness, joint design, welding position, and equipment condition can change the outcome. That assumption can fail. Test coupons provide useful evidence before production begins. Record amperage, travel speed, gas flow, and visible weld behavior. Review the bead after cooling, not only while it is bright.
Safety remains essential. Use appropriate eye, skin, and respiratory protection, especially when cleaning or welding in poorly ventilated areas. Follow equipment instructions and applicable workplace standards. If the joint carries pressure, structural loads, or sanitary requirements, qualified inspection may be necessary. Good technique helps, but it does not replace engineering review.
Some mistakes are unavoidable. Learn from them. A slightly uneven bead can reveal rushed movement, poor fit-up, or unstable shielding. By examining these signs honestly, welders can improve consistency and protect the corrosion resistance that makes 304 stainless steel valuable.
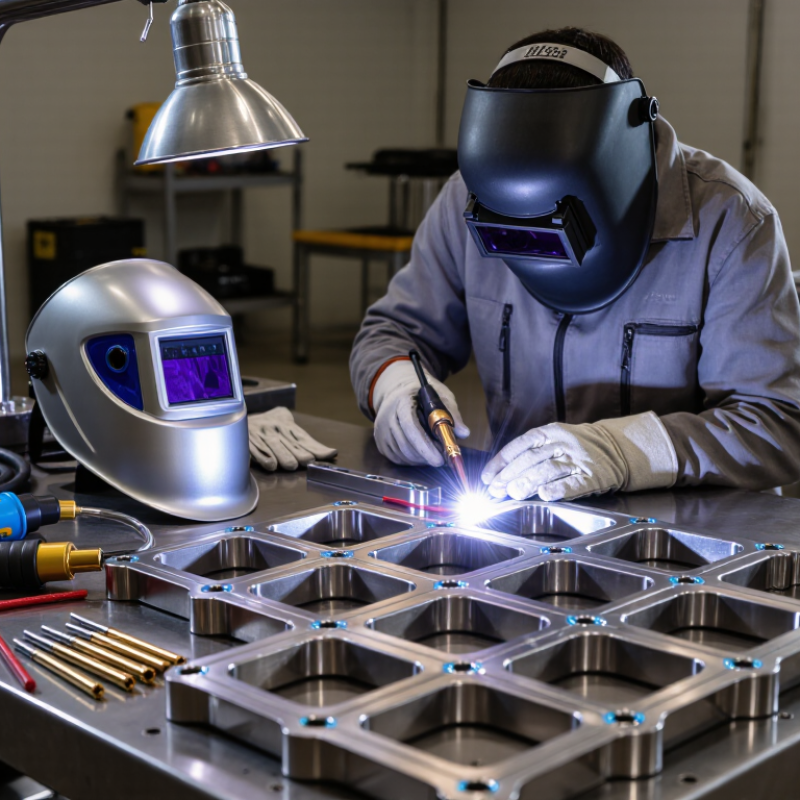
Table of Contents [Hide]
Choosing the Right Equipment and Materials for 304 Stainless Steel
Choosing the right equipment is the foundation of clean 304 stainless steel welds. For thin sheet, I usually select a TIG setup with precise amperage control and a high-frequency start. TIG gives better control around corners, where excess heat can quickly discolor the metal. MIG can work well on thicker sections, especially when production speed matters. Use a stainless-compatible liner, clean contact tip, and a short stick-out to stabilize the arc.
Material selection matters just as much. ER308L filler wire is a practical match for most 304 applications. For repeated heating or demanding service, confirm the project specification before choosing filler metal. Use high-purity argon for TIG shielding, and add a separate argon purge inside tubing or pipe. The back side can sugar without it. That rough, black texture often means oxidation and weak corrosion resistance.
Keep abrasives and wire brushes reserved for stainless steel. Carbon-steel dust can leave rust spots later. I prefer a dedicated stainless brush and acetone-based surface cleaning before welding. Fit-up should be tight, but not forced; uneven gaps invite extra heat. Short welds, balanced sequencing, and brief pauses help control distortion. I once trusted a strong tack weld too much, and the final joint pulled out of alignment. That mistake still influences how I check fixtures, gaps, and heat input before starting.