
-
- Products
- Indoor Household Cords
- Appliance Cords
- General Purpose Short-Length Cords
- General Purpose Extension Cords
- Landscape & Decorating Cords
- Bright Color Extension Cords
- Oil-Resistant Extension Cords
- Cold-Flex Extension Cords
- VividFlex Power Cords
- EXTREME All-Weather Cords
- Cord Management
- Task Lights
- Adapters & GFCI Devices
- Where to Buy
- About
- Careers
- Glossary
- Catalog


What Is Epoxy Resin 3D Printing and How Does It Work?
Epoxy Resin 3d Printing is changing how engineers create detailed prototypes, functional parts, and customized tools. Unlike filament printing, this process cures liquid resin layer by layer with ultraviolet light. A digital model becomes a physical object inside a resin vat. The result can show sharp lettering, smooth walls, and tiny channels that traditional machining may struggle to reproduce.
The market is expanding, but its size requires careful interpretation. The Wohlers Report 2024 valued the global additive manufacturing industry at approximately $20.035 billion in 2023, including hardware, materials, software, and services. SmarTech Analysis has also identified photopolymer materials as an important segment within professional additive manufacturing. These reports support strong commercial momentum, but they do not measure epoxy applications alone. That distinction matters.
Joseph DeSimone, a leading photopolymer 3D printing expert and Carbon co-founder, said, “3D printing is not just about making things; it’s about making things differently.” His observation fits Epoxy Resin 3d Printing well. The technology changes not only the shape of production, but also the timing and economics of development. Designers can test a grip, enclosure, or casting pattern within hours. Yet the process is not effortless. Resin viscosity, exposure time, shrinkage, and post-curing can alter final accuracy. Small errors become visible. Safety procedures also matter, because uncured resin may irritate skin and requires controlled handling.
The promise is real.
However, performance claims should be tested against real operating conditions. This guide examines how epoxy resin printing works, where it performs best, and why material selection remains a practical engineering decision.
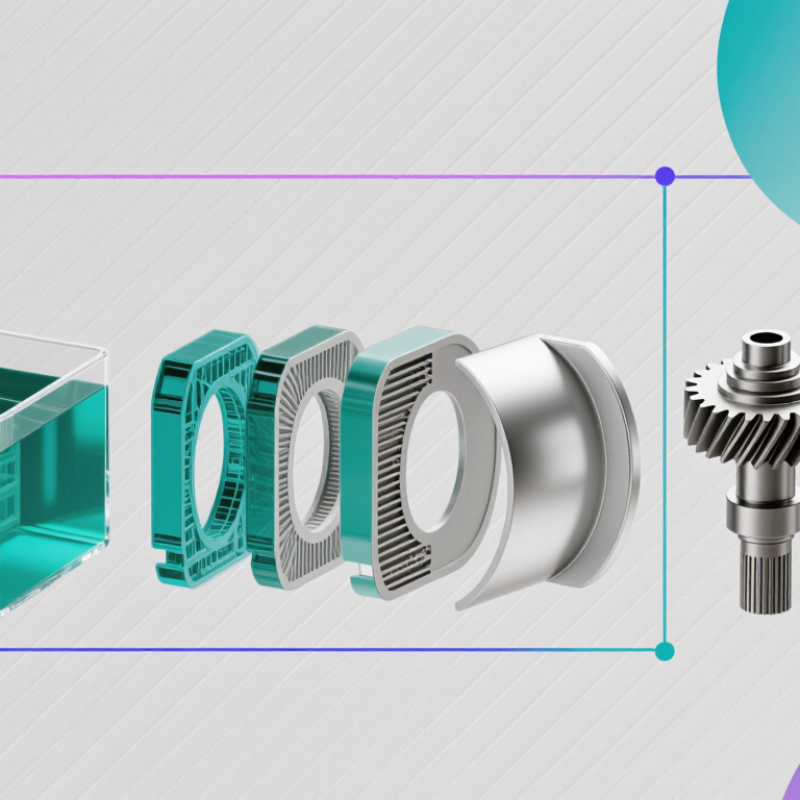
Table of Contents [Hide]
What Is Epoxy Resin 3D Printing?
Epoxy resin 3D printing is a liquid photopolymer process that creates solid parts layer by layer. A vat holds resin containing reactive epoxy-like molecules and light-sensitive additives. UV light selectively cures each cross-section, while a build platform moves gradually through the liquid. The result can show sharp corners, fine lettering, and smooth surfaces.
In practice, the term can be confusing. Not every “epoxy resin” used in 3D printing has the same chemistry as two-part casting epoxy. Many systems use engineered photopolymer blends that imitate epoxy’s stiffness, heat resistance, or electrical insulation. After printing, operators may wash the part and apply additional UV curing. That step improves strength, but excessive exposure can make thin features brittle.
According to the Wohlers Report 2024, the global additive manufacturing industry reached approximately $20.035 billion in 2023, growing 13.5% from the previous year. This growth reflects wider industrial adoption, including resin-based prototyping and production tooling. The 2023 Photopolymer Additive Manufacturing report from AM Research also identifies photopolymer technologies as an important segment for detailed parts and short-run manufacturing.
Actual performance still depends on resin formulation, exposure settings, and post-curing. Small errors matter. A slightly overexposed layer can close a tiny channel or soften a sharp edge. Engineers should verify tensile strength, thermal behavior, and long-term aging instead of trusting marketing labels alone.